
Moulds: 3D Printed FDM
A complete guide on how to prototype your own 3D printed FDM moulds and how they compare to our Premium Aluminium moulds.

Introduction
One of the challenges in designing products with recycled plastic is the cost and accessibility of durable moulds. While Sustainable Design Studio offers custom aluminium moulds at an affordable rate, we understand that for quick prototypes or early-stage testing, it might not be feasible for everyone to invest in aluminium. This is where Fused Deposition Modeling (FDM) inserts come into play, offering an affordable and accessible alternative for creating moulds with everyday 3D printing.
In this section, we'll explore the benefits and drawbacks of using FDM-printed inserts in aluminium holders. FDM allows you to test mould designs using a variety of thermoplastic filaments, providing flexibility while cutting costs. We'll walk through a step-by-step guide on how to create these inserts, highlighting when and why it may be an ideal solution for your prototype phase. We'll also compare FDM inserts to aluminium and SLA options, so you can make the best choice for your project.
Watch The Full Guide
To make the whole process easier we have created a full-length video explaining the comparison between different 3D printed mould types and how to replicate our results.
Getting Started
You will need:
A 3D Printed Resin Holder Mould.
A FDM Printer with high temp hotend and heated chamber such as the Elegoo Centauri Carbon.
Polycarbonate Filament (Higher Melt Temperature) such as Prusament PC Blend Filament.
Optional Extras:
Fine Grit Sandpaper (800-1200grit)
Silicone Mold Release Spray (260c)
Make sure you don’t use a different filament type with a lower melting temperature or use a filament that has carbon fibre added. These won’t work and may be hazardous to use.
The Pros & Cons of Resin Prints
-
Pros
Very cheap to make.
FDM 3D Printers are readily available.
A new mould can be made in as little as 5-6hrs.
-
Cons
Limited to less than 100 injections before the mould deteriorates.
The mould takes longer to cool than Aluminium, slowing down production.
Flashing is a major issue due to the softness of the material.
A FDM mould cannot be warmed up for easier material flow.
The moulds are less accurate, as a result, more post-processing is required.
Not great for small or detailed items. Such as text.
Draft angles need to be usedLayer lines can be seen on the final part, just like 3D printing.
FAQs
-
Several reasons. Firstly when injecting the plastic it requires a huge amount of force, that would destroy the cured High Temperature Resin if injected into without the frame. Secondly, the frame acts as a buffer between the hot nozzle, and resin. Increasing the life of the resin mould and ensuring it can be used as much as possible before breaking.
-
Yes, due to the nature of the mould being more delicate than an a full aluminium mould, its best to avoid using them for objects with fine detail such as small text or intricate logos.
Best to stick to larger and thicker items or accept that you may only get a few injections before these details are lost.
Draft angles need to be much bigger than normal for the product to work. -
Due to the nature of the mould, only our Injection Mini works with the 3D printer insert moulds.
This is because we need to accurately control the injection pressure to prevent flashing, overflow or breaking the mould.

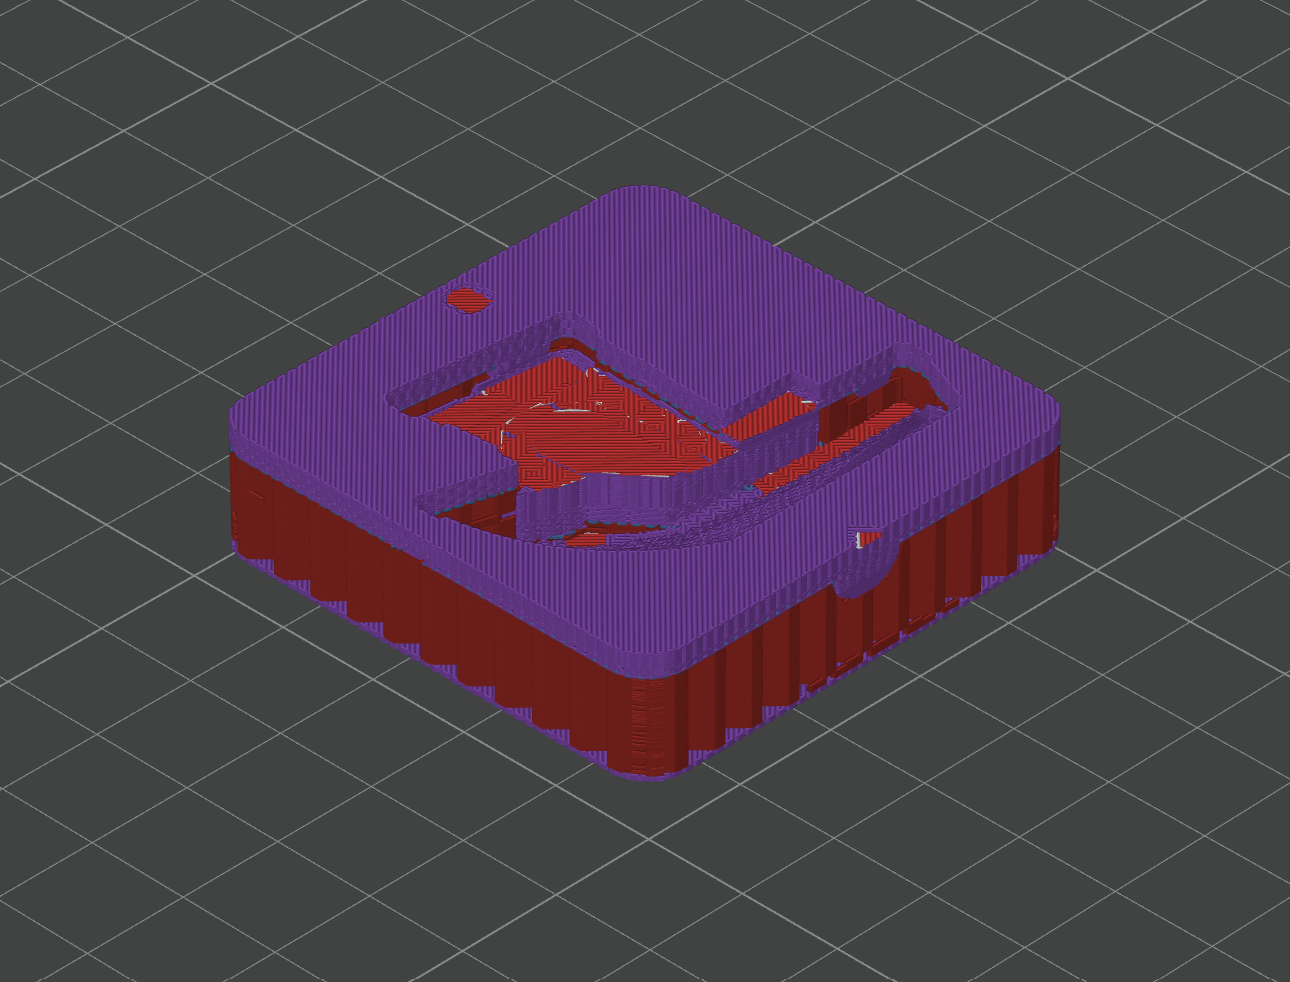
Print At The Best Resolution
Due to the nature of the moulds, it is always best to print at the best layer resolution you can for your printer. For us, it was 0.08mm and as a result, this reduced the visibility of any layer lines on our final part.

+30% Infill
The injection process puts a lot of pressure on the mould. As a result, we use 30% infill. This will mean the mould lasts longer and doesn’t deform under the high heat and pressure of injection.
Print The Top Layer Thick
The top layer will be taking the most stress, as a result, we printed this 5mm thick. This could be less, but worked for us.
Important Usage Tips
-
The mould is heat sensitive and deteriorates faster with higher temperatures. To ensure a long life always inject at the lowest possible temperature that allows you to achieve good results.
We use 200c for PP. -
Lower the pressure of the injection for the IMM using the gauge on the left hand side. Do not use the max pressure like the aluminium moulds as this can easily break the mould.
We use around 80psi for PP.
Related Resources.
-
![3D Printing vs Injection Moulding]()
3D Printing vs Injection Moulding
A full break down on the advantages and disadvantages of Injection Moulding when compared to 3D printing.
-
![]()
Mould Use
Everything you need to know about how to use our moulds and deal with common problems.
-
![]()
How To Inject PLA
How to convert 3D printing waste into eco-friendly products with our injection mini
-
![]()
How to 3D Print SLA Moulds
A guide on how to 3D print a SLA mould, including what you need to purchase, and the full process of doing it yourself.
-
![]()
Good Product Design
A comprehensive guide to what makes a good, and bad recycled product.


